Plaster Fruit Sculpture
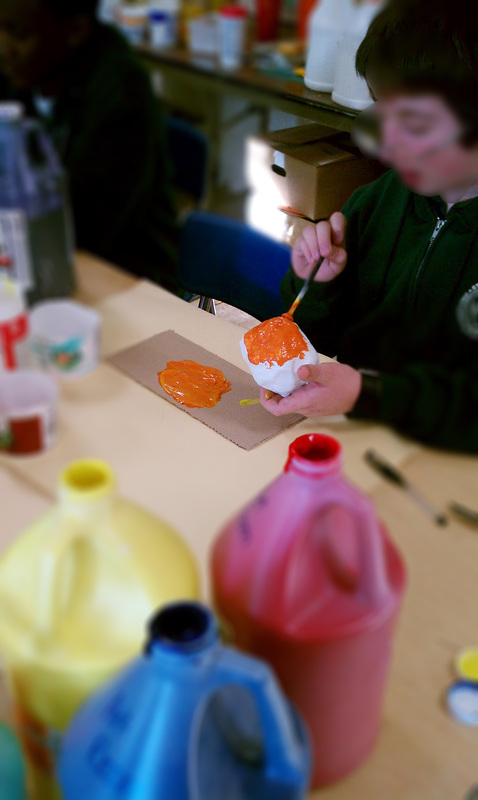

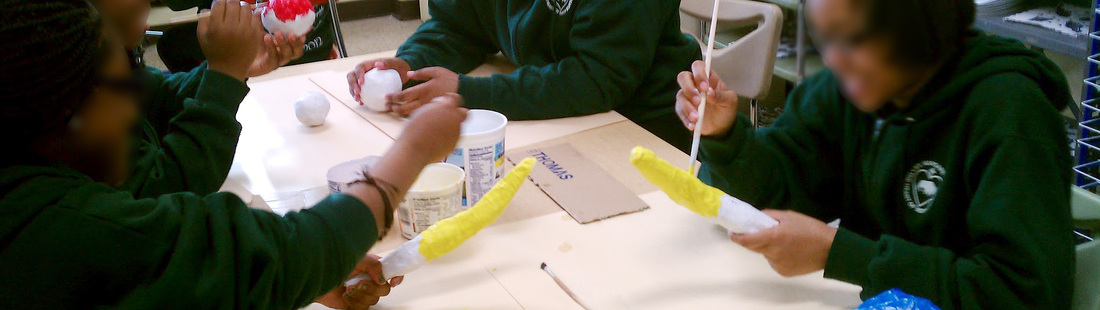
Using plaster gauze, students can create their own still-life fruit sculptures. First, using paper and tape, construct the basic shape of the fruit you are creating. Make sure it is as close to the real thing as possible, tape down any unsecured edges of paper. This will serve as the armature for your sculpture so you want it to be strong. Second, use the thin pre-cut strips of the plaster gauze, dip them in a container of water (one strip at a time) and wrap your armature with it. Using your finger, smooth out each strip before applying a new one. Third, continue to wrap the armature with layers of plaster gauze and allow to dry overnight. Finally, paint. I had students mix their own paint and supplied them with only the primary colors. (Red, Yellow, Blue)
Special notes: Plaster gauze is messy, be prepared. It is very important to have students smooth each layer of plaster gauze before applying the next. Have them use wet fingertips to insure the gauze is smooth, rough and "bumpy" layers when dry will remain just that, rough and bumpy.
Supplies: paper, tape, scissors, plaster gauze. water, containers, paint, brushes, mixing trays, paper towels, clean-up supplies
