Painted Plaster Masks
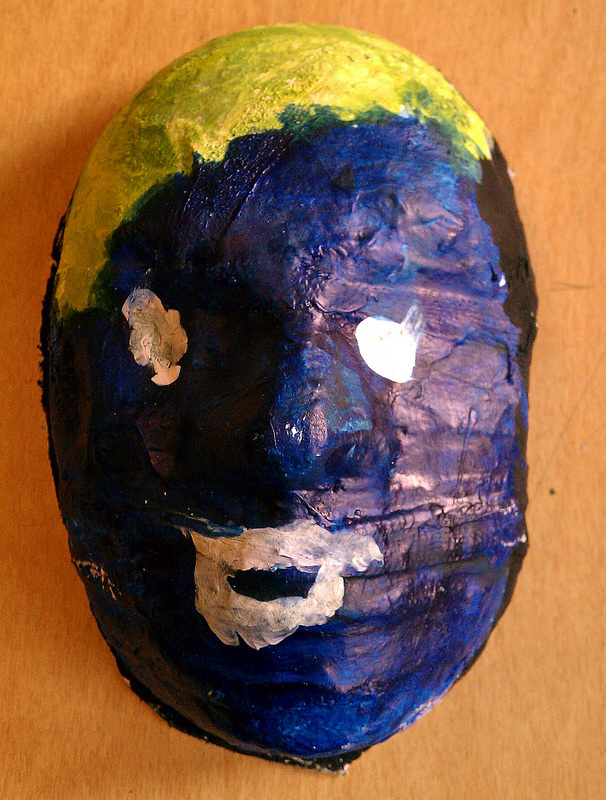
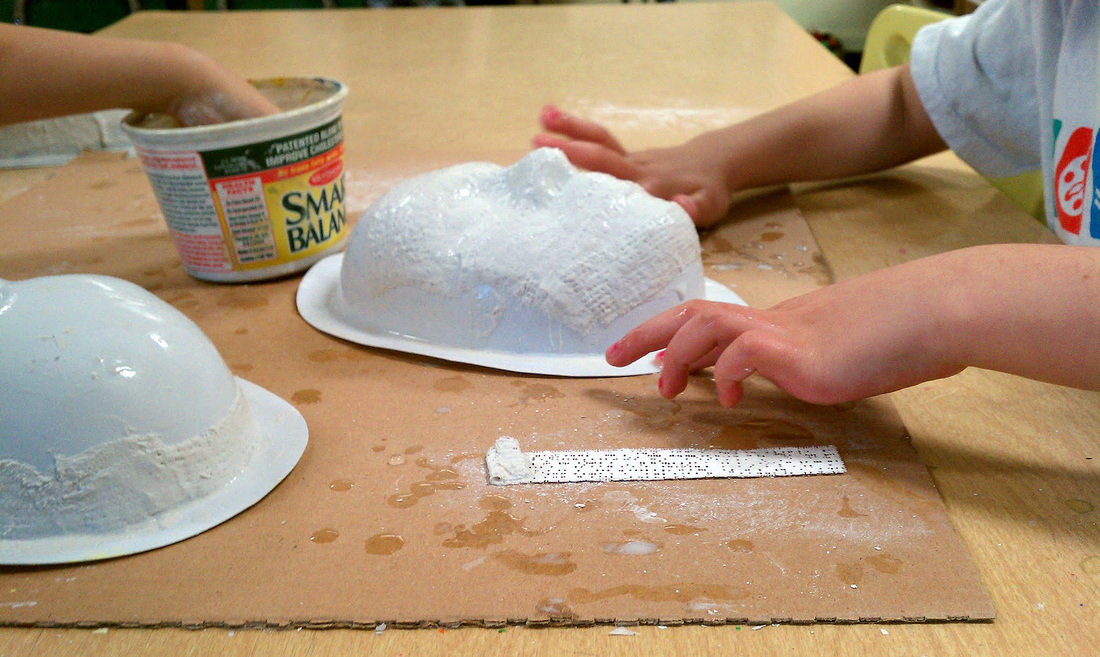
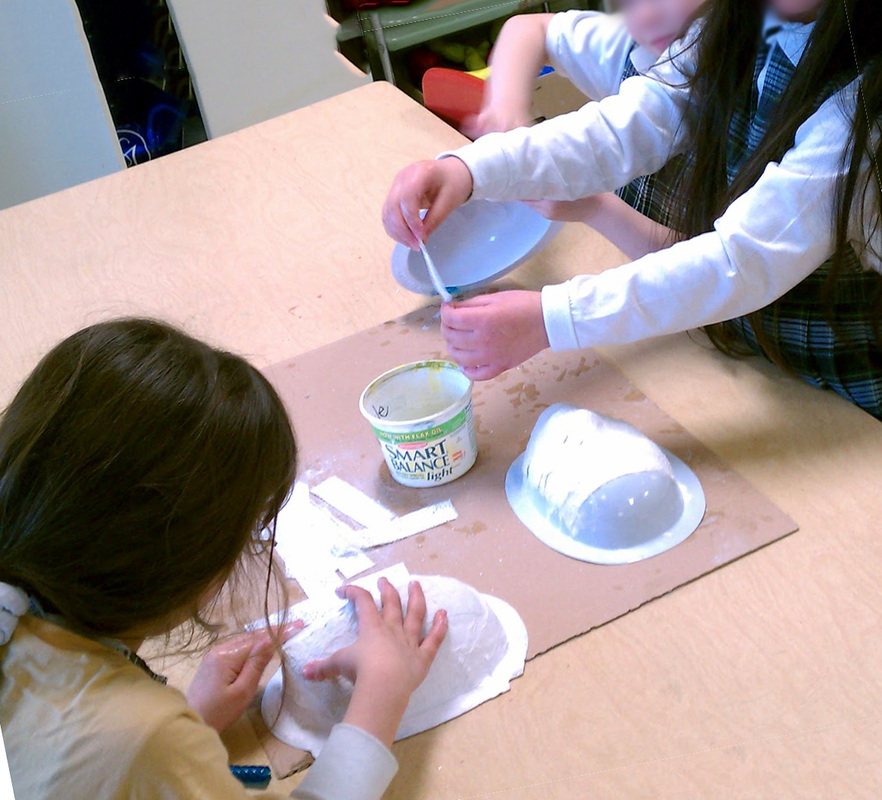
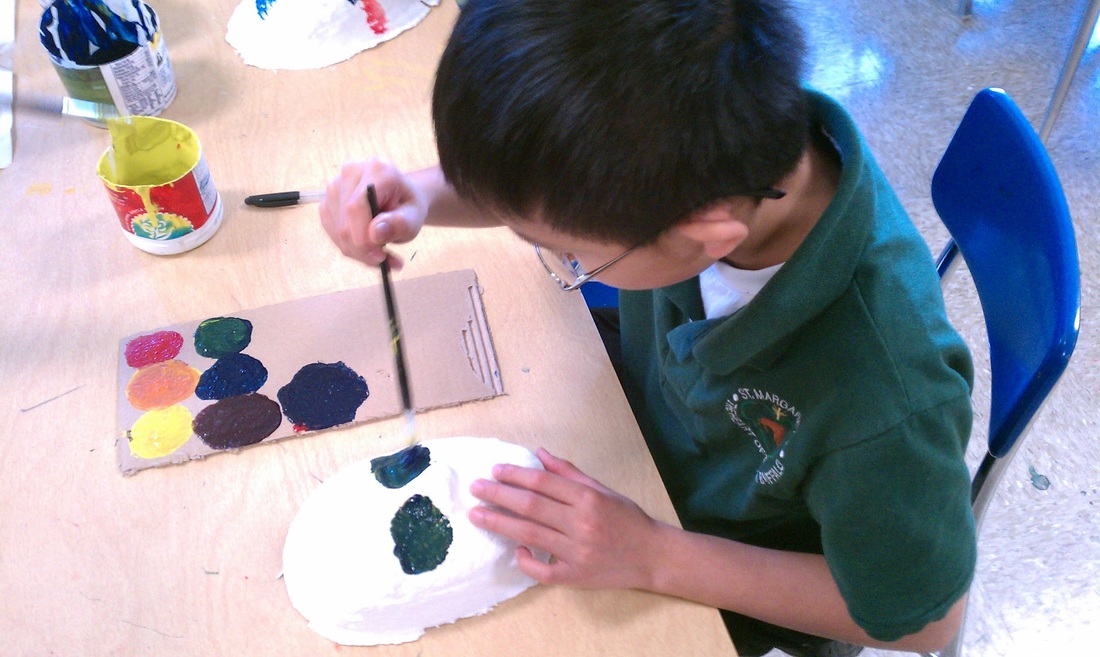
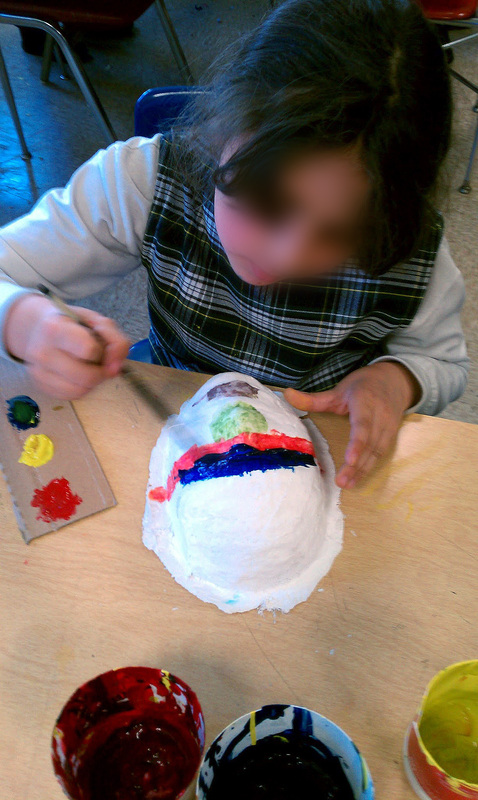
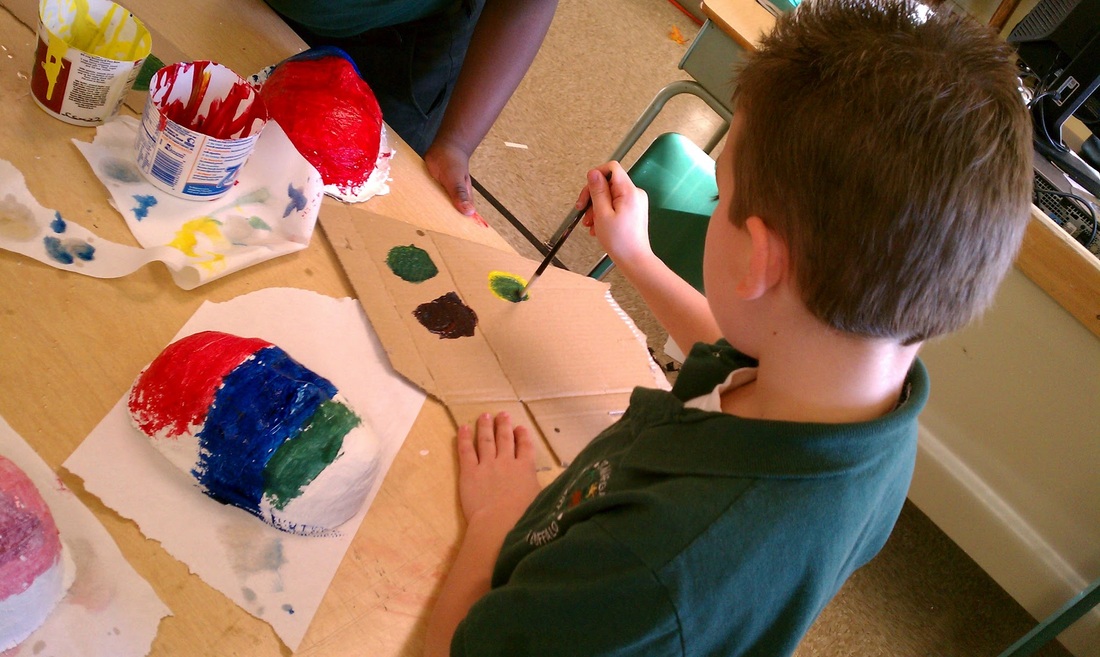
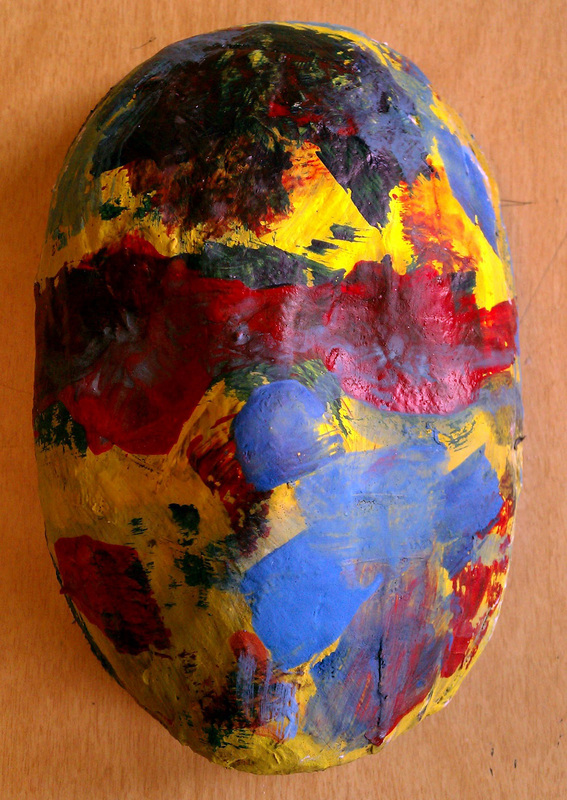
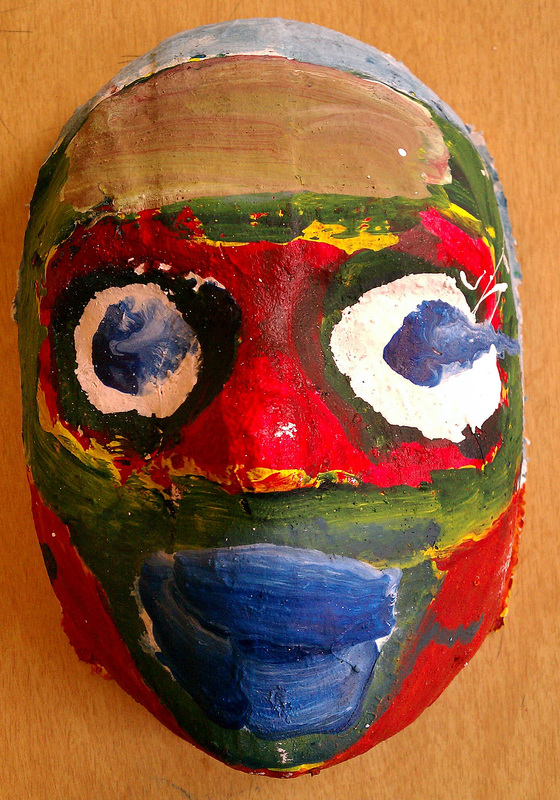
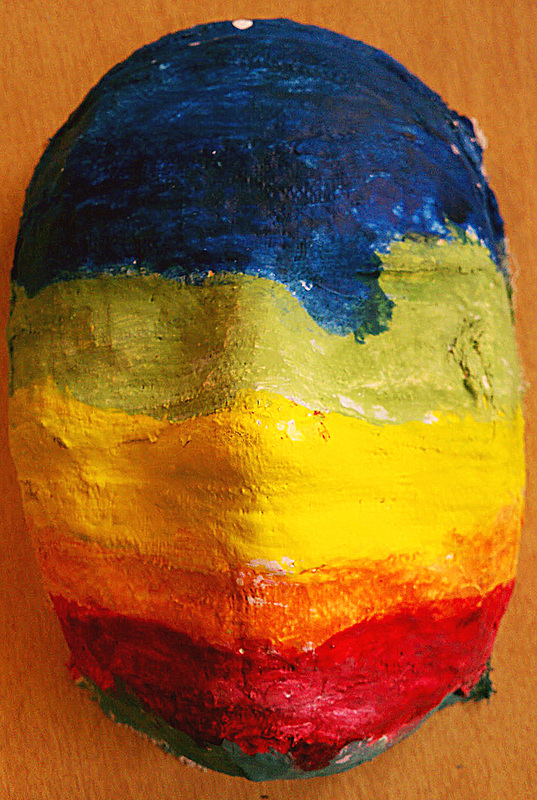
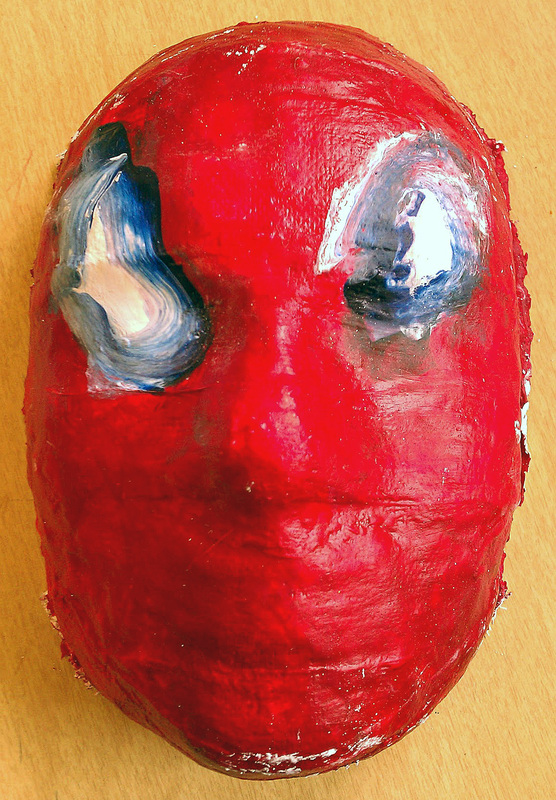
Students used plaster gauze to create masks which they then painted. The process includes cutting small strips of the plaster gauze, dipping the gauze in a container of water (fully saturating it), then layering the plaster strips over the plastic mask (or mold). Drying time should be 24 hours. The plastic molds pull away easily from the dried plaster, last step is painting.
Special Notes: When applying plaster strips, make sure each strip is smoothed out completely (using wet finger tips) and no visible holes are in the plaster, THEN move onto another strip. Secondly, multiple layers of plaster strips are needed to ensure the mask is rigid and strong. I had students cover the entire mask applying strips vertically, and then horizontally. Lastly, I pre-cut the plaster strips (using a paper cutter) to make sure they were a uniform shape, also to save time. Masks can be sprayed with a semi-gloss fixative/sealer if desired.
Supplies: Plaster gauze, plastic mask molds, containers for water, table covering, paint, brushes.